How to Stretch Neapolitan Pizza Dough by Hand

To stretch Neapolitan pizza dough by hand, press the gas from the center outward while leaving a 1.5-2cm rim untouched, then drape the disc over your knuckles and let gravity thin it to roughly 250mm. No rolling pin, ever — it crushes the gas that becomes the cornicione. The whole move takes about 30 seconds once it’s muscle memory.
This is the technique that separated my pizzas from flat, doughy discs more than any oven did. I learned it the slow way, tearing skin after skin, before the sequence finally clicked. Below is exactly how I stretch mine now, batch after batch, with the failure modes I hit on the way and how to fix each one. Everything here assumes a properly fermented ball — if your dough is fighting you, the problem is usually upstream in the dough itself.
Why You Never Use a Rolling Pin on Neapolitan Dough
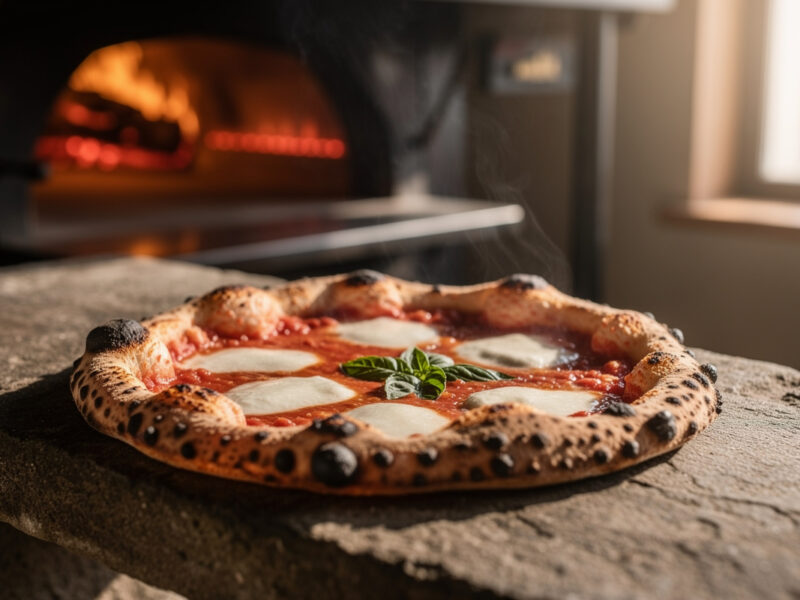
A rolling pin presses every gas bubble out of the dough, which is the exact opposite of what you want for Neapolitan. The puffed, leoparded rim — the cornicione — is built entirely from gas trapped during fermentation. Roll it flat and you get a uniform cracker with no rise.
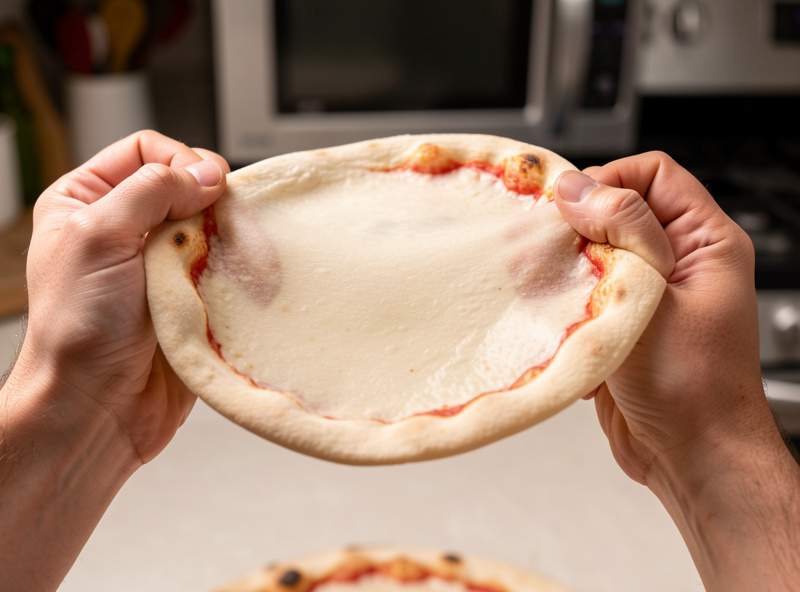
Hand-stretching preserves the gas in the rim while thinning the center, giving you that signature contrast: airy puffed edge, thin pliable middle. The center should end up almost translucent — in good light you can nearly see your hand through it. That gradient from thin center to gassy rim is impossible to achieve by rolling, because a pin can’t selectively leave one zone inflated. Every Neapolitan move below exists to move gas around, not to remove it.
Step One: Pressing the Dough Disc
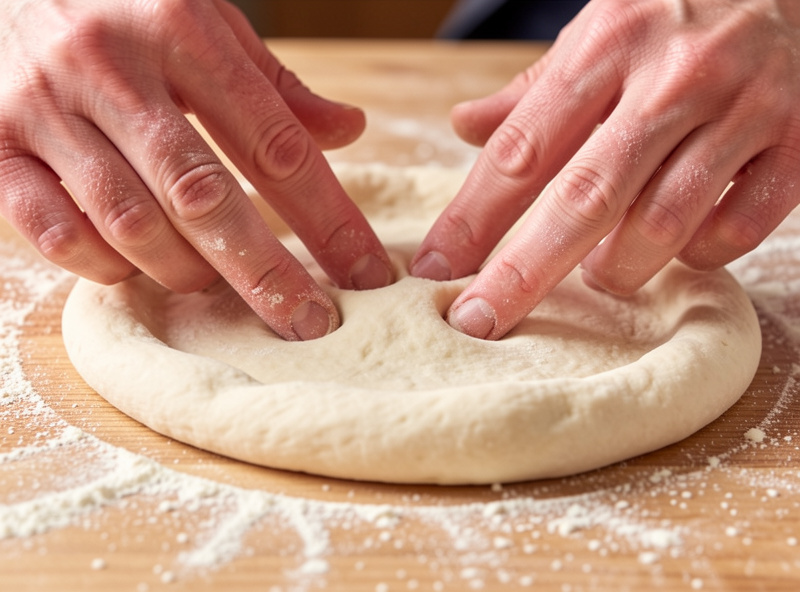
Start by laying the room-temperature ball on a bed of semolina and pressing it flat with your fingertips, working from the center toward the edge but stopping about 2cm short of the rim. This pushes the gas outward into what becomes the cornicione while flattening the center.
Use the pads of your fingers, not your palm — palms compress too aggressively and tear the gluten. Press in concentric circles, rotating the dough a quarter turn every few presses so it flattens evenly. You’ll feel the gas migrate toward the edge under your fingers; that’s the rim inflating. Keep the outer 2cm completely untouched. If the dough resists and snaps back at this stage, it’s too cold — the single most common reason a stretch goes wrong, which I cover below.
Step Two: The Drape and Rotate
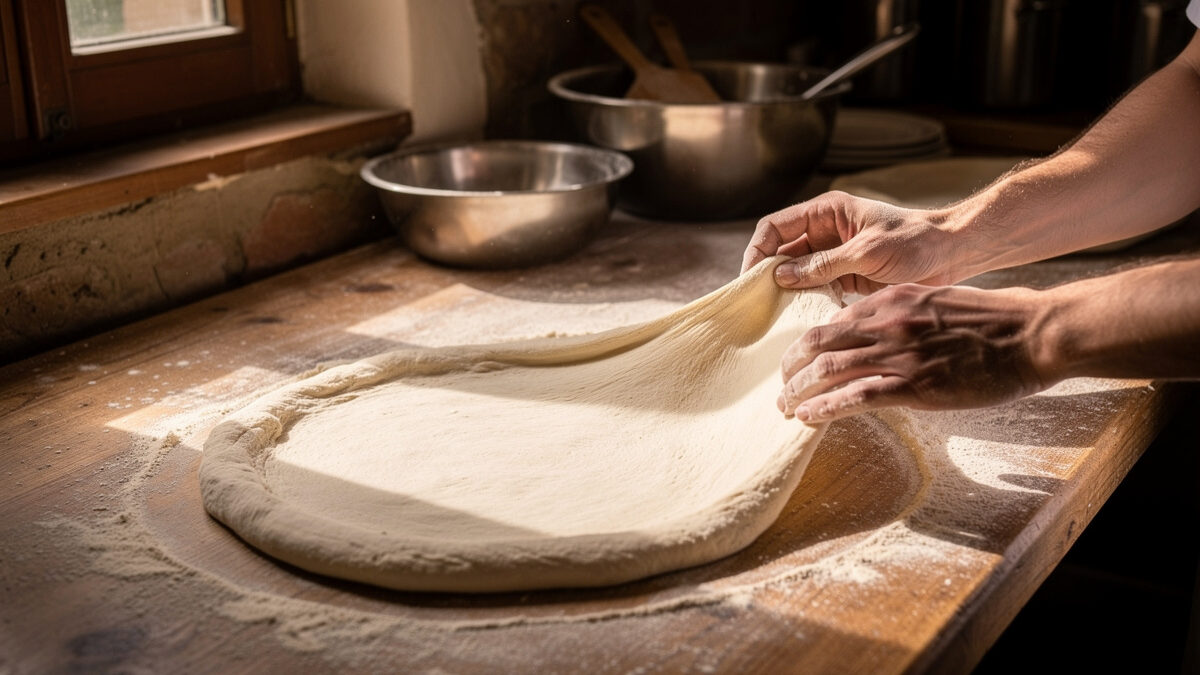
Once the disc is pressed out to roughly 18-20cm, lift it and drape it over the backs of both hands held loosely as fists, then let it hang and rotate so its own weight stretches it thinner. Gravity does most of the work here — you’re guiding, not pulling.
Hold your hands a few inches apart under the dough and rotate it like a steering wheel, letting the hanging weight thin the section between your knuckles. Move your hands outward slightly with each rotation to spread the thinning around the whole disc. This is far gentler than stretching it flat on the bench and it keeps the rim intact. The dough should reach 250mm or so — about a dinner-plate diameter — with a center thin enough to be slightly see-through. Work over the bench, not in mid-air over the floor, so a slip doesn’t cost you the pizza.
The Slap-Stretch (When You’re Confident)
The slap-stretch is the move you see pizzaioli use: the dough is slapped from one hand to the other, each slap stretching it a little more under its own momentum. It’s faster than the drape once you have the feel, but it’s also how beginners tear dough, so build to it.
The motion: hold the disc by one edge, slap the far edge onto the bench or your other forearm, and as it lands, pull your holding hand back slightly so the dough stretches. Then rotate and repeat. It’s rhythmic once it clicks. I didn’t trust myself with it for months — I’d over-commit and tear a thin spot every time. The drape-and-rotate is the reliable default; the slap is the upgrade. Pizzaioli make it look effortless because they’ve done it ten thousand times, not because it’s the only correct method.
Common Hand-Stretching Mistakes and Fixes
The four mistakes that wreck a hand-stretch are cold dough, a thick center, tearing thin spots, and an over-floured skin that won’t grip. Each one has a clear cause and fix, and three of the four trace back to the dough rather than your hands.
Cold dough is the big one: a ball straight from a 4°C fridge has tight, snappy gluten that fights every stretch and tears. Pull the balls 2-3 hours before baking so they warm and relax — this single habit fixes most stretching frustration. A thick, doughy center means you were too timid; commit to thinning the middle until it’s nearly translucent. Tearing usually means a weak patch from under-fermentation or a ball that was rolled too tight when balling — ball gently and don’t degas. And too much flour, especially plain flour rather than semolina, makes the surface slick so you can’t get purchase; brush off excess and stick to coarse semolina, which acts more like tiny ball bearings than a coating.
How to Recover a Torn Skin
A small tear isn’t fatal — pinch the edges of the tear back together with floured fingers and the dough will seal enough to bake, especially if the tear is away from the center. A large tear means the ball is compromised; reball it gently and let it rest 20-30 minutes before trying again.
The instinct to keep stretching a torn skin just makes the tear bigger, so stop the moment you feel it go. If you’re launching onto a hot stone, a sealed tear holds fine for the 90-second bake. What you can’t do is stretch a torn ball thinner — the weak point will only spread. I keep a couple of extra balls per session precisely so a bad stretch doesn’t end the night. The dough is cheap; the frustration of fighting a doomed skin is not worth it.
Getting the Dough Right Before You Stretch
The best hand-stretching technique can’t save a badly made or badly fermented dough, so the stretch starts long before you touch the ball. A 60-65% hydration dough that’s had a proper 48-72 hour cold ferment and 2-3 hours of warm-up stretches almost on its own.
If your dough is consistently too stiff, too slack, or tearing no matter how gently you handle it, the fix is in the dough process, not the stretch. My 48-hour cold ferment method and the hydration guide cover why water percentage and ferment time decide how a ball handles. The complete dough build from mix to ball lives in my pizza dough guide. Once the dough is right, the stretch is the easy part — and it feeds straight into the launch technique, which is where a perfectly stretched skin can still go wrong if you hesitate. For the full picture of how stretch, launch, and bake fit together, start with the Neapolitan technique guide.
Frequently Asked Questions
How big should a Neapolitan pizza be after stretching?
A hand-stretched Neapolitan pizza should reach about 250mm, roughly a dinner-plate diameter, from a 250-280g dough ball. The center should be thin enough to be slightly translucent while the rim stays puffed at 1.5-2cm wide.
Why does my pizza dough keep springing back when I stretch it?
Spring-back almost always means the dough is too cold or under-rested. Pull the balls from the fridge 2-3 hours before baking so the gluten relaxes. If it still fights you, let the pressed disc rest 10 minutes mid-stretch and try again.
Can you stretch Neapolitan dough with a rolling pin?
No. A rolling pin crushes the gas out of the rim, giving you a flat uniform cracker instead of a puffed cornicione. Neapolitan dough must be stretched by hand to preserve the gas that creates the airy leoparded edge.
What flour should you use on the bench for stretching?
Use coarse semolina rather than plain flour. Semolina acts like tiny ball bearings that let the dough slide without absorbing into it, and it falls off cleanly on launch. Plain flour makes the surface slick and can build into a sticky paste.
How do you fix a torn pizza skin?
Pinch the edges of a small tear back together with floured fingers and it will seal enough to bake, especially away from the center. For a large tear, reball the dough gently and rest it 20-30 minutes before stretching again.
Related Guides
- Neapolitan Pizza at Home: Complete Technique Guide
- The Complete Pizza Dough Guide
- 48-Hour Cold Ferment Method
- Pizza Dough Hydration Explained

About Kenny Nyhus Fadil
A home pizza maker documenting deck temps, dough logs, and the occasional wrecked launch.