Pizza Dough Proofing Trays: What to Buy and Why

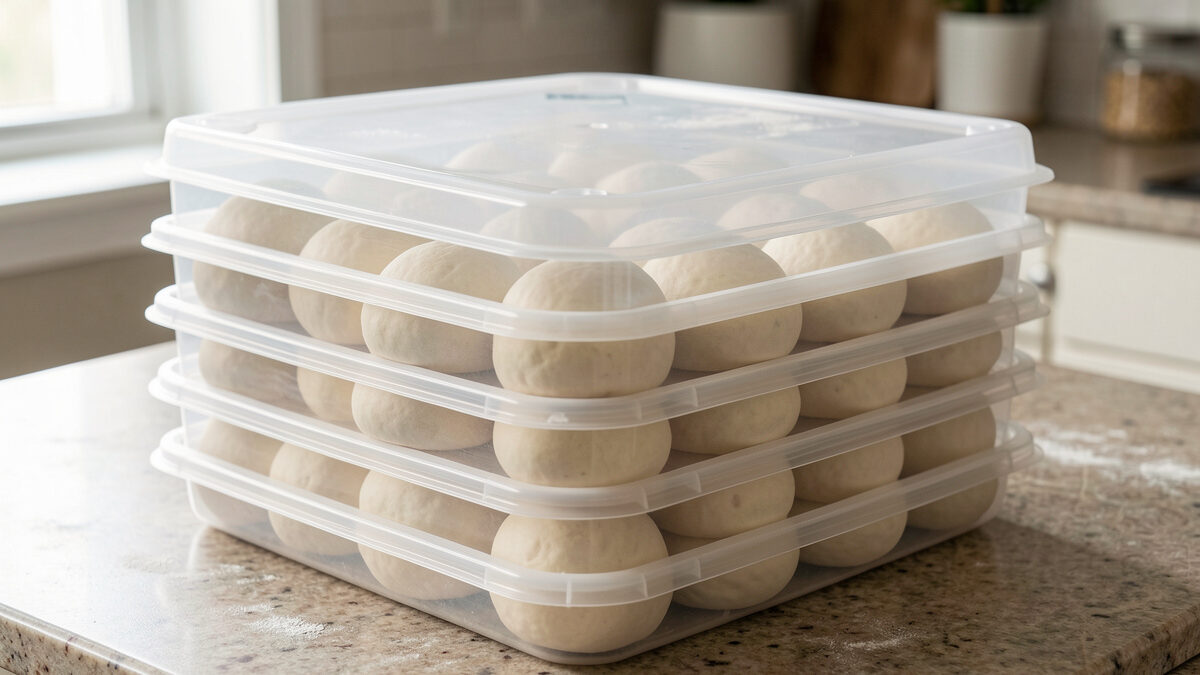
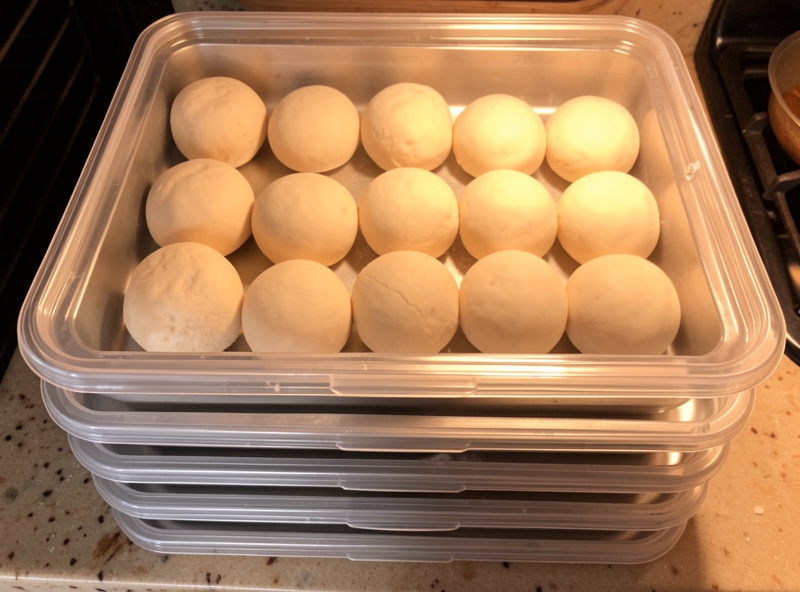
A dough proofing tray does one job that a sheet pan and cling film can’t: it holds your dough balls in a low, lidded, stackable box where they keep their shape, don’t skin over, and fit in the fridge for a long cold ferment. For anyone baking more than a couple of pizzas at a time, a pair of proper trays is the cheapest upgrade to launch quality I know — the balls come out round, relaxed, and easy to handle, which is half the battle before the dough ever reaches the peel.
I run my entire dough program out of stacked proofing trays — direct, poolish, and biga balls all live in them through a 24-to-72-hour cold ferment. Here’s what actually matters when you buy them, and why the box beats every improvised alternative.
Why a Proofing Tray Beats a Sheet Pan
The proofing tray wins on three things a sheet pan can’t match: a sealed lid that stops the dough drying out, a low flat floor that lets balls spread into a relaxed disc, and a stackable shape that fits multiple batches in a domestic fridge. A sheet pan under cling film dries the tops, crowds the balls, and wastes shelf space — all of which show up as tearing and sticking at launch.
The skin is the big one. When a dough ball’s surface dries out, it loses extensibility and tears when you stretch it, and it grips the peel because the dry skin won’t release. A proper lidded tray keeps the humidity around the dough high, so the surface stays supple right up to the moment you flour and launch. That single difference fixes more launch problems than any peel upgrade — and if your launches still stick, the stuck-to-the-peel fix traces the rest of the causes, most of which start with dry, mishandled dough.
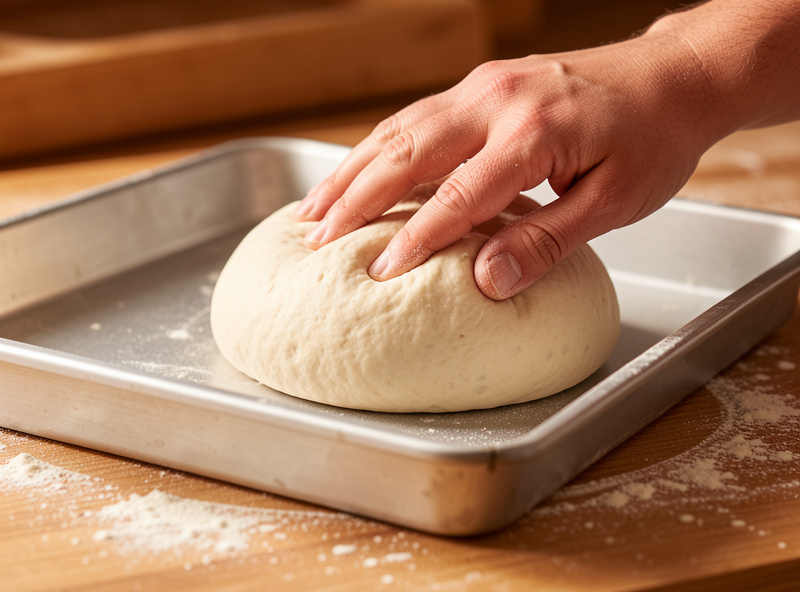
There’s a shaping benefit too. In a low tray with room around each ball, the dough relaxes outward into a soft disc over its cold ferment, which makes it far easier to open into a round base. Crammed onto a pan, the balls fight each other and merge. Give each one space and the cold ferment does your stretching prep for you — the same principle behind my standing 48-hour cold ferment.
Sizing: Tray Footprint and Ball Spacing
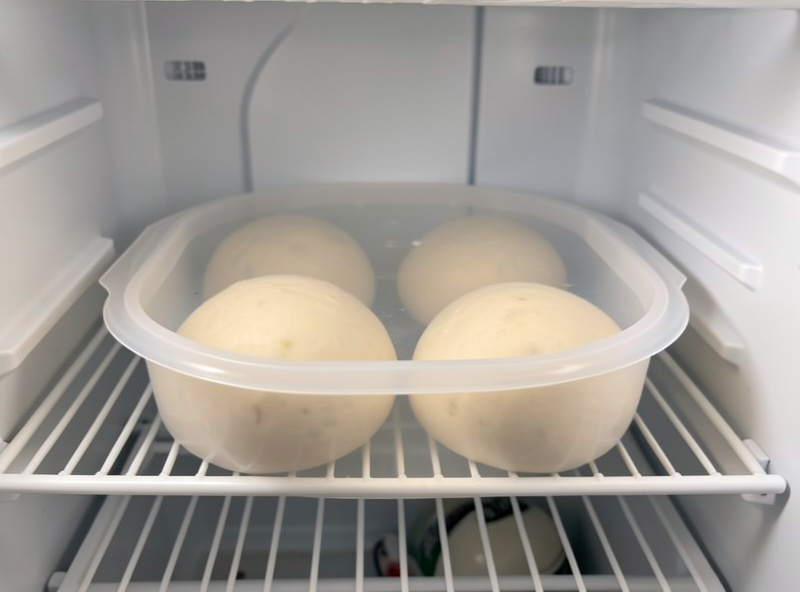
Buy trays sized to your fridge shelf and your batch count, with enough floor space that each ball can spread to roughly twice its initial diameter without touching its neighbor. For a typical four-ball batch of 250g doughs, a tray around 40 by 30 cm gives each ball the room it needs; bigger batches just mean more trays, not bigger ones.
Depth matters more than people expect. A tray that’s too shallow lets the lid press the rising dough and flatten the top; too deep and you waste fridge height you don’t have. A depth in the 7-to-10 cm range clears a well-risen ball while still stacking efficiently. The whole point is to fit your full bake in the cold without playing fridge Tetris — I plan tray count around the batch, not the other way round. For how the balls themselves should be portioned and stored, the dough ball storage guide covers weights and timing.
Material: Polypropylene, Wood, or DIY
Food-grade polypropylene trays are the standard for good reason — light, cheap, stackable, and easy to clean, with clear or translucent lids so you can watch the proof without opening the box. Wooden proofing boxes exist and look beautiful, but they’re heavier, harder to clean, and overkill for a home fridge. For most home bakers, plastic is the honest answer.
You can improvise. Any low, lidded, food-safe container roughly the right size will work, and plenty of people start with a cheap storage box from a hardware shop. The catch is the lid seal and the stacking — purpose-made dough trays nest and seal in a way generic boxes rarely do, and that convenience is most of what you’re paying for. As an Amazon Associate I earn from qualifying purchases. A pair of stackable dough proofing trays with lids covers a typical home batch.
Tray Options Compared
Here’s how the realistic choices stack up for a home setup. The right pick depends on your batch size and whether you cold-ferment, which you should — the cold ferment is where flavor and handling both improve.
| Option | Best for | Lid seal | Rough cost |
|---|---|---|---|
| Polypropylene dough tray | Everyday home batches | Good, purpose-made | $25–$45 per pair |
| Wooden proofing box | Looks, room-temp proofs | Loose-fitting lid | $60–$120 |
| DIY food-safe box | Starting out cheaply | Variable | $8–$15 |
| Sheet pan + film | One or two balls only | Poor, dries tops | Already own it |
The sheet-pan row is there to be honest: for a single pizza you don’t need a tray at all. The case for buying one kicks in the moment you’re proofing four or more balls and want them all to launch well — which is most weekend bakes once you’ve caught the bug.
Flouring, Stacking, and the Small Habits
A tray only works if you set it up right. Dust the tray floor with a little flour or semolina before the ball goes in — enough that the dough releases cleanly later, not so much that it cakes onto the base. I use a thin, even layer; too much and the excess turns to grit on the launch peel, the exact problem a clean tray is meant to avoid. A light wipe of oil on the floor is an alternative some bakers prefer, though I find flour gives a better release for a long cold ferment.
Stacking is the quiet advantage. Lidded trays nest so the lid of the lower tray becomes the floor of the next, which means a four-tray fridge stack takes barely more height than one tray plus headroom. That’s how you fit a big weekend bake into a domestic fridge without surrendering every shelf. Just don’t stack so the lid presses the rising dough — leave headroom for the proof, and check the balls through the translucent lid rather than opening every box and letting the humidity out.
Cleaning is genuinely easy with polypropylene: warm water, mild soap, no abrasive pads that scratch the surface and give future dough something to grip. Dry them fully before stacking for storage so no moisture gets trapped. These are small habits, but they’re the difference between trays that make dough handling effortless and trays that become another thing to fight. Treat them like any other bench tool — kept clean, set up the same way every time, so the dough behaves predictably bake after bake.
How I Run Trays Through a Cold Ferment
My standard schedule is to ball the dough, drop each ball into a floured tray with space around it, seal the lid, and refrigerate for 24 to 72 hours depending on the flour and the plan. The trays come out two hours before baking to take the chill off, and the balls go straight from tray to bench to peel. No re-balling, no fighting dried skins — the tray protects the dough the whole way through.
The longer the cold ferment, the more the tray earns its keep: a 72-hour ball in an open container would be a dried, crusted mess, but sealed in a tray it stays supple and develops the flavor and extensibility a long ferment is prized for. This is the dough-first philosophy in physical form — the oven is just the last 90 seconds, and the trays protect the days of work that come before it. Pair them with the right hydration and a read of the complete dough guide, and decide your timeline with the same-day vs overnight breakdown.
Trays sit quietly in the dough-handling tier of the accessories guide — not flashy, but one of the few accessories that genuinely changes how the dough behaves. Buy a pair sized to your fridge, run a long cold ferment, and watch the launches get easier.
Frequently Asked Questions
Do I need a dough proofing tray?
If you proof four or more dough balls at a time, yes. A lidded tray stops the dough skinning over, lets each ball relax into an easy-to-stretch disc, and stacks in the fridge for a long cold ferment. For a single pizza you can get by with a covered bowl, but for batches a tray pays for itself fast.
What size proofing tray for pizza dough?
Around 40 by 30 cm holds a four-ball batch of 250g doughs with room to spread, and a depth of 7 to 10 cm clears a risen ball while still stacking. Size the tray to your fridge shelf and your batch count; bigger batches mean more trays, not larger ones.
Can I use a regular container instead of a dough tray?
Yes, any low, lidded, food-safe box of roughly the right size works, and many bakers start with a cheap storage box. Purpose-made trays nest and seal better, which is most of what you pay for, but a DIY box with a tight lid will proof dough perfectly well.
How long can dough stay in a proofing tray?
A sealed tray protects dough through a 24 to 72 hour cold ferment in the fridge. The lid keeps the surface supple, so even a 72-hour ball stays soft and extensible instead of crusting over. Take the tray out about two hours before baking to let the dough warm up.
Related Guides
- Pizza Oven Accessories: The Complete Guide
- Cold Ferment Pizza Dough: The 48-Hour Method
- Pizza Dough Balls: Storage, Timing, and Freezing
- Same-Day vs Overnight Pizza Dough
- Pizza Peel Size Guide
- Turning Peel: Is It Worth It?

About Kenny Nyhus Fadil
A home pizza maker documenting deck temps, dough logs, and the occasional wrecked launch.